LENGHT
 The Length Laboratory has the mission to materialize, maintain and disseminate the units of Length and Plane angle, as well as the development and implementation of new methods and measurement capabilities.
In the frame of its activities has as its main concerns:
- Assure the traceability ofLengthunits (metre and radian) allowing its dissemination in a national level;
- Participate and coordinate I&D projects and interlaboratory comparisons;
- Support technically the legal metrology.
The areas of activity of the Length Laboratory, are:
-
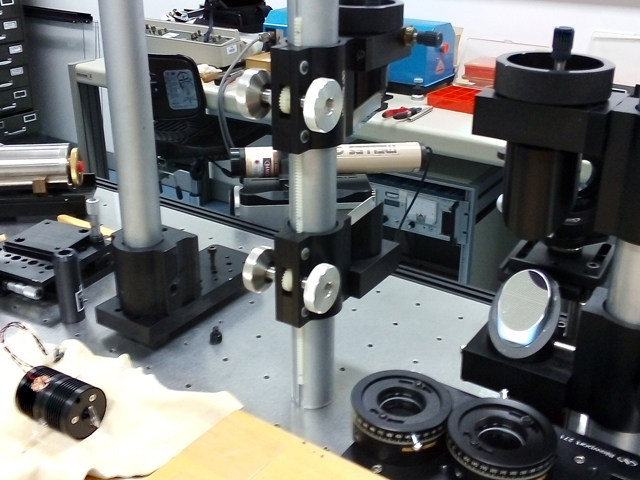
- Length – dissemination of the meter, through the calibration of interferometer lasers in wavelength and emission frequency and through the comparison of the indication of interferometers used in dimensional metrology;
- Plane angle – dissemination of the radian, through the calibration of angle standards: autocollimators, angular gauge blocks, pentaprisms, indexed and / or rotating tables and polygons;
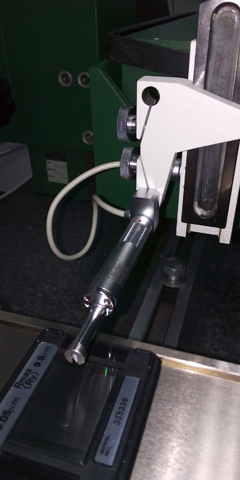
- Surface texture, through the calibration of roughness standards by profilometry;
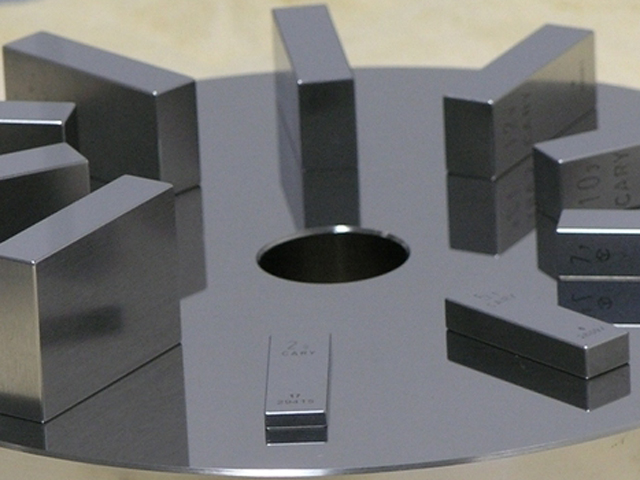
- Dimensional metrology, through the calibration of linear gauge blocks, scales and material measures of length for general use;
-
- Legal metrology, through the performance of legal metrological control tests in service of material measures of length for general use (tape measure with tensioning weight);
- I&D, through participation in international projects for the development of metrology.
In development stage:
-
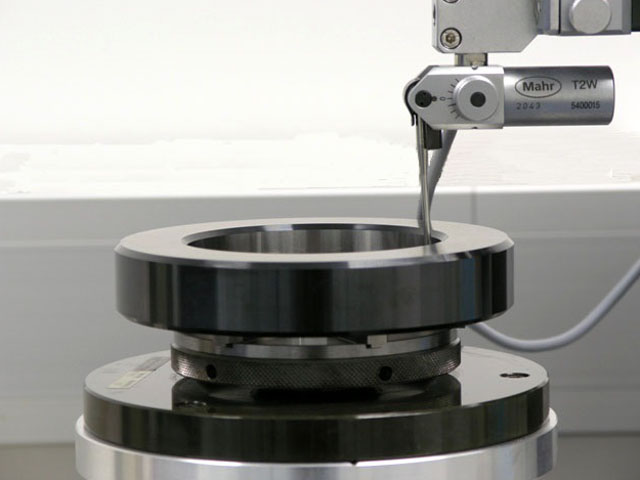
- Form measurements, for the calibration of roundness, cylindricity and straightness standards.
Get to know here ongoing projects.
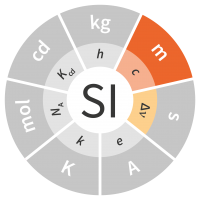
The metre, symbol m, is the SI unit of length.
It is defined by taking the fixed numerical value of the speed of light in vacuum c to be 299 792 458 when expressed in the unit m/s, where the second is defined in terms of the caesium frequency ΔnCs
Derived Units
The radian, symbol rad, is the derived unit of plane angle.
It is defined as the plane angle situated between two radius that, in a circumference of a circle, intersects an arc length equal to the radius of the mentioned circle.
Plane angle, SI unit with special names and symbols here.
Length
At IPQ, the realization of the definition of the metre can be performed by two different ways:
1.By the calculation of a wavelength from a measured frequency (using speed of light in the conversion);
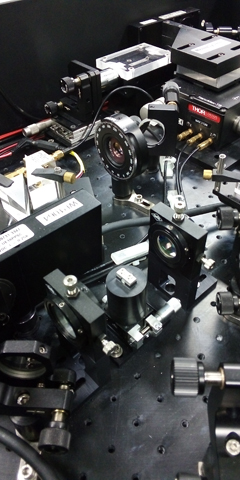
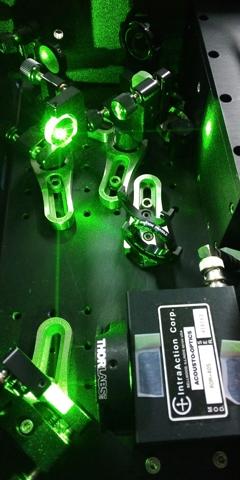
In this case the standard is an Optical Frequency Synthesizer (OFS) constituted by: an Nb:YVO4 laser; an optical acoustic modulator, Kerr-lens mode-locked femtosecond Ti:sapphire laser and an optical fibre based on photonic crystals and an optical and electronic set that allows to determine the two frequencies that characterize the OFS, the offset frequency, f0 , and the repetition frequency, fr.
2. Using a frequency or wavelength standard selected from a list of prescribed standards;
The practical realization is based on the relation c0 = λ × f, and as the speed of light in vacuum c, is a constant and f (laser radiation frequency) is well determined, λ (wavelength) can be calculated.
In this other possibility the IPQ standard is an He–Ne laser stabilised to saturated absorption in iodine (IPQ3). Its traceability is obtained by the calibration with the OFS.
The use of this standards, or any other laser system calibrated by comparison with IPQ3, allow the length measurements, l , in terms of a number of wavelengths b, l = λ x b, by interferometry.
Plane Angle
The realization of the radian definition is made in terms of the circle subdivision.
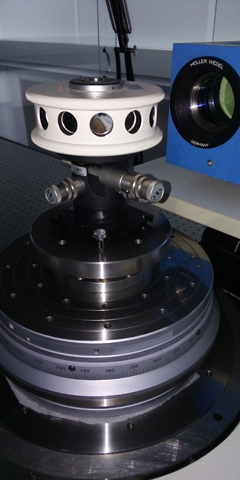
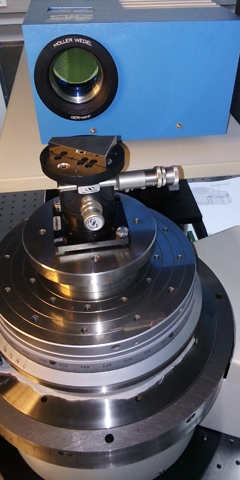
The complete circle corresponds to 2 π rad. As π is an irrational number the units used in angular metrology belongs to the sexagesimal system and are the degree (°), minute (′) and the second (″). As the sum of all intermediate angles of a circle is 360° and the sum of all errors of the same angles is zero, it is possible to produce matrixes and equations to determine the error of each intermediate angle of the circle. To make the practical realization of the radian definition, IPQ has an autocollimator (optical system used to measure small angular differences), an index table (allows the generation of angular positions) and gauge polygons. Nowadays, the traceability is reached through the calibration of the autocollimator at the international primary laboratory.
Mise en pratique for the definition of the metre in the SI (20 May 2019)
Guidance document CCL-GD-MeP-1
Guidance document CCL-GD-MeP-2
Guidance document CCL-GD-MeP-3
Recommended values of standard frequencies (last updated 30 November 2018)
